Subject
Name the person, object, product, scene, or interface that must remain central.
Prompt library
Copy practical prompts for Flare or Sunburst, use up to 16 references for editing, then choose one of five quality tiers and 1K, 2K, or 4K output.
Prompt structure
Subject + setting + composition + lighting + required details + constraints
Write the visual requirements in a fixed order so each instruction has one clear purpose.
Name the person, object, product, scene, or interface that must remain central.
Describe where the subject appears and which background details belong in the frame.
Set the camera angle, crop, hierarchy, panel count, or subject placement.
Specify the light direction, contrast, palette, and overall visual temperature.
Quote exact visible text and list the objects, labels, or materials that must appear.
State what should remain unchanged and what must not appear in the result.
Copy an example, replace the subject and setting, choose Flare or Sunburst, then set the matching ratio, quality, and output resolution.
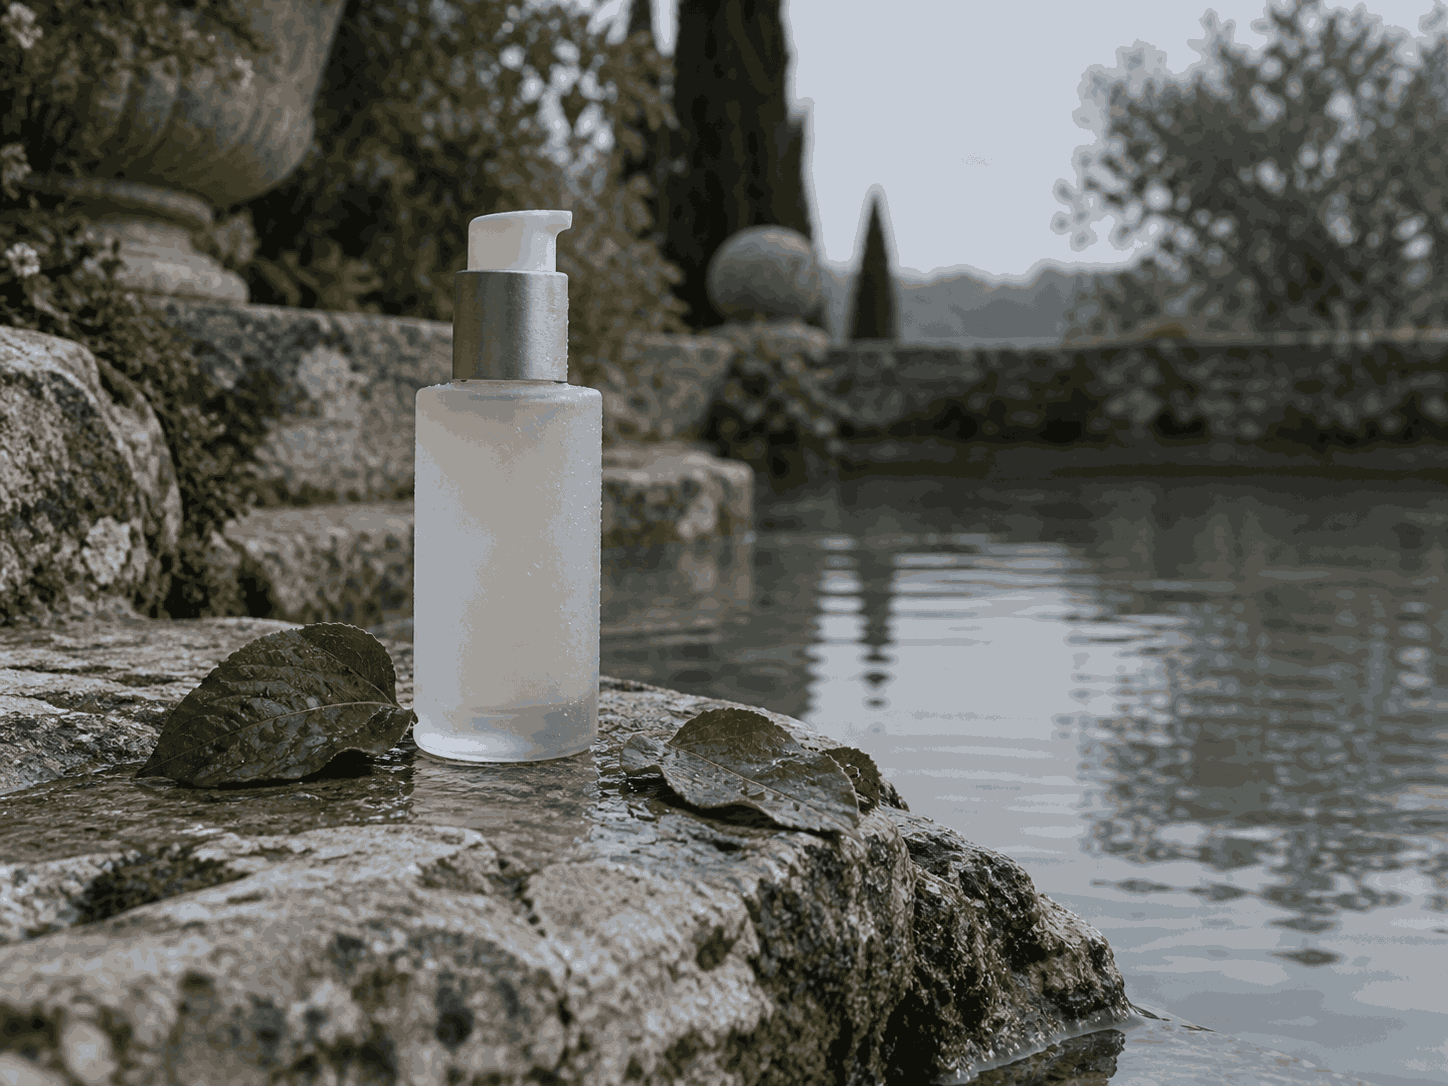
Create a clean 4:3 product image of a frosted glass skincare bottle beside calm water and dark green leaves. Use soft daylight, controlled reflections, realistic glass texture, a low camera angle, and open space on the right for a short product heading. Keep the bottle shape and label placement consistent. Do not add extra containers or decorative text.
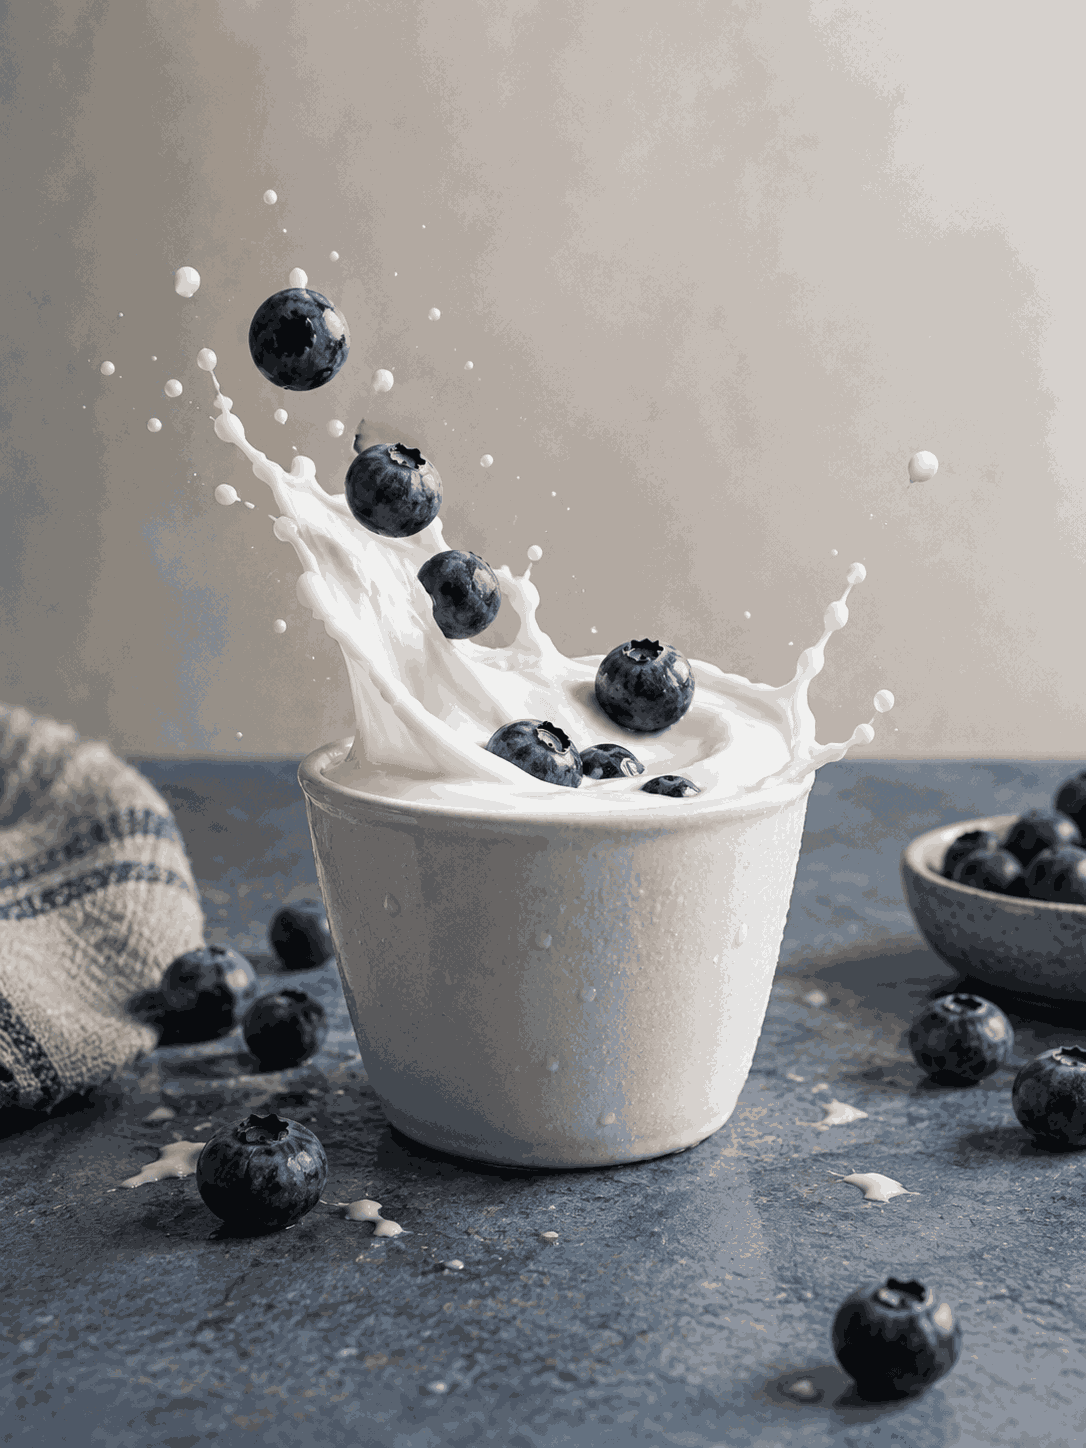
Create a vertical 9:16 product image of a white blueberry yogurt cup surrounded by a milk splash and suspended blueberries. Use a soft gray studio background, crisp frozen motion, realistic droplets, readable packaging placement, and gentle shadows. Keep the cup centered and leave clear space above the product. Do not add unrelated fruit or extra packages.
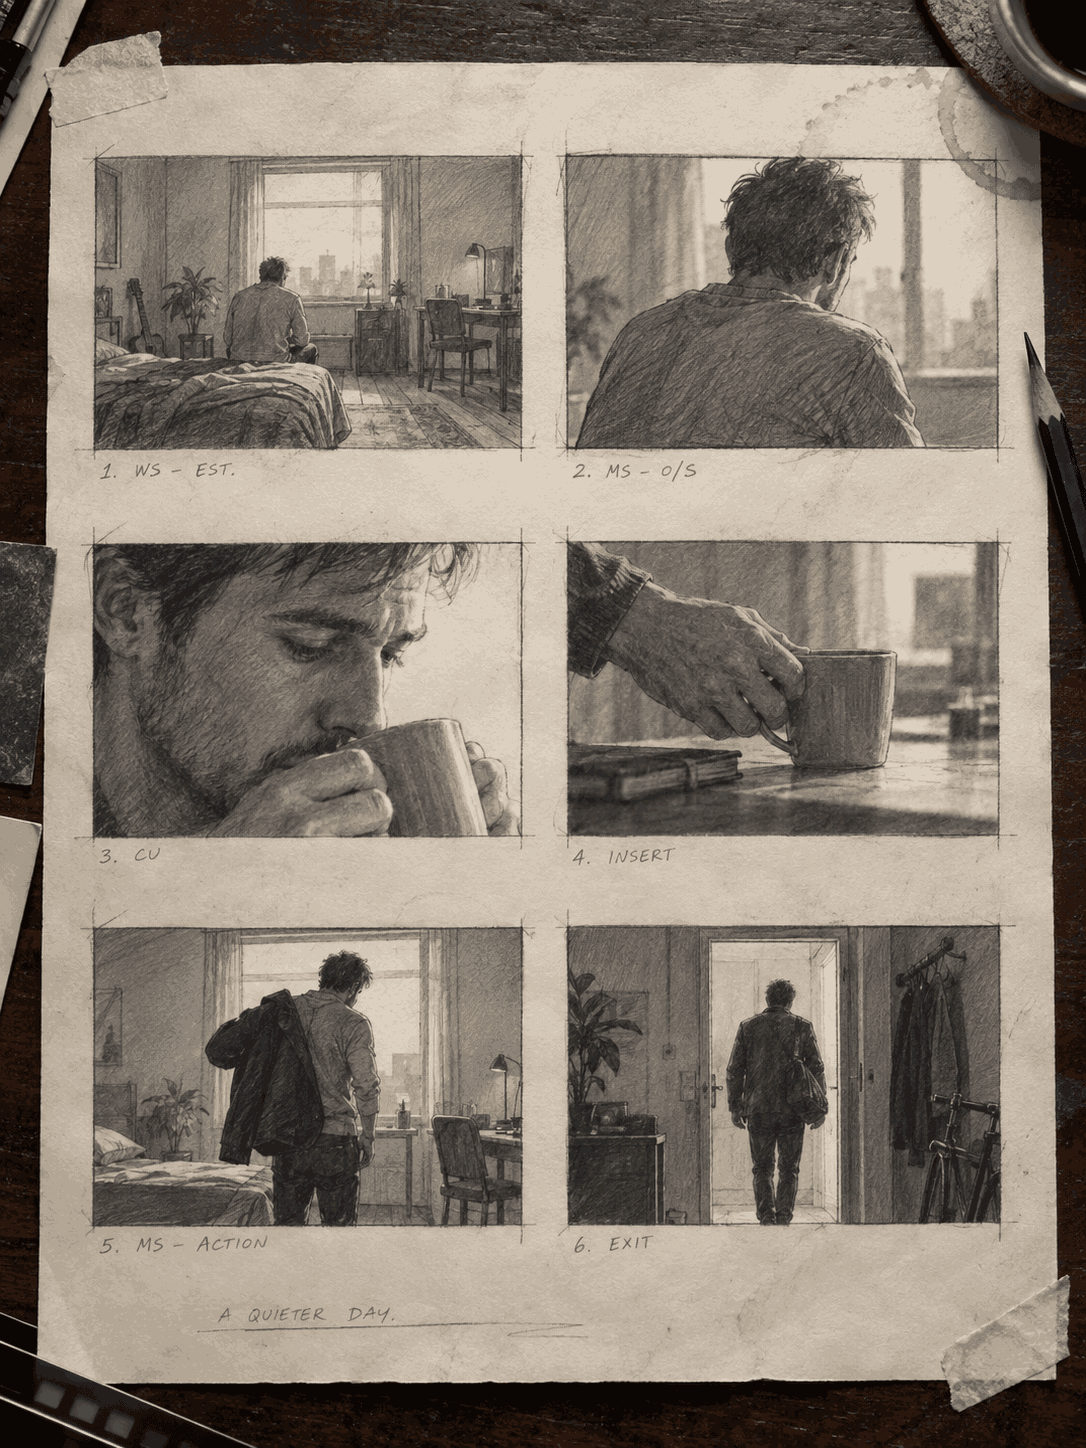
Create a 3:4 pencil storyboard with six equal panels arranged in two columns and three rows. Show one original adult character entering a studio, reviewing a sketch, speaking with a teammate, testing a camera angle, walking outside, and returning at sunset. Keep clothing and facial features consistent. Add short camera notes beneath each panel and number the panels from 01 to 06.
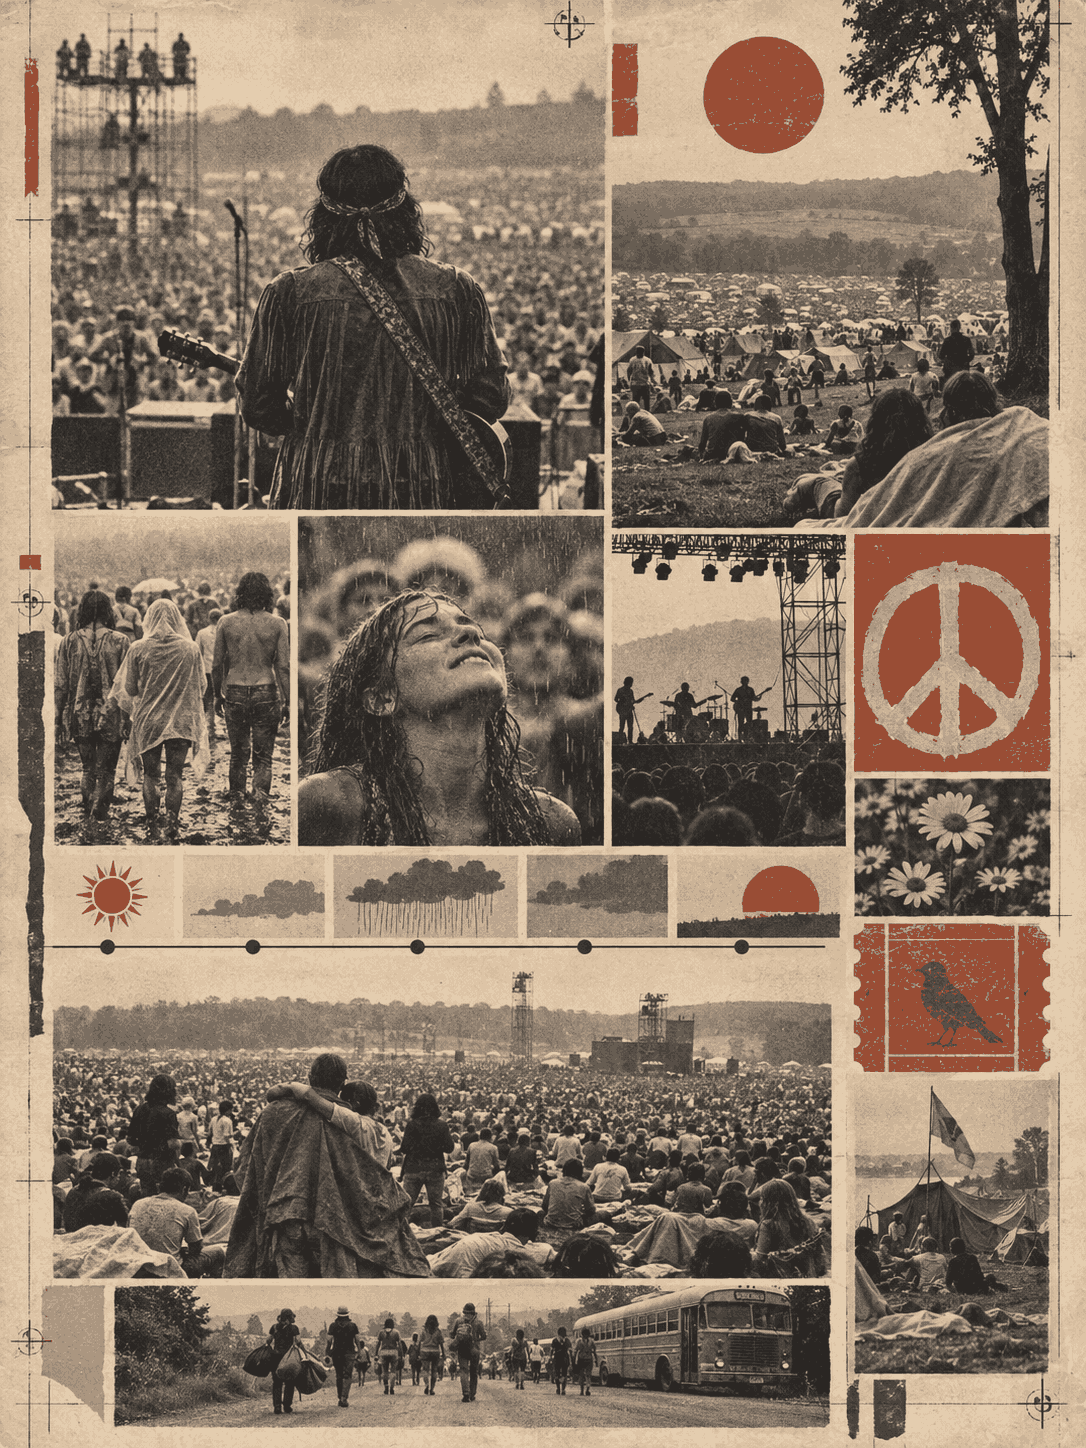
Create a 3:4 illustrated infographic about a fictional three-day outdoor music festival. Include a title, a simple timeline, a site map, three fact boxes, weather icons, and a closing summary. Use a limited warm palette, clear section borders, readable labels, and consistent illustration style. Keep all facts fictional and do not include real brand marks.
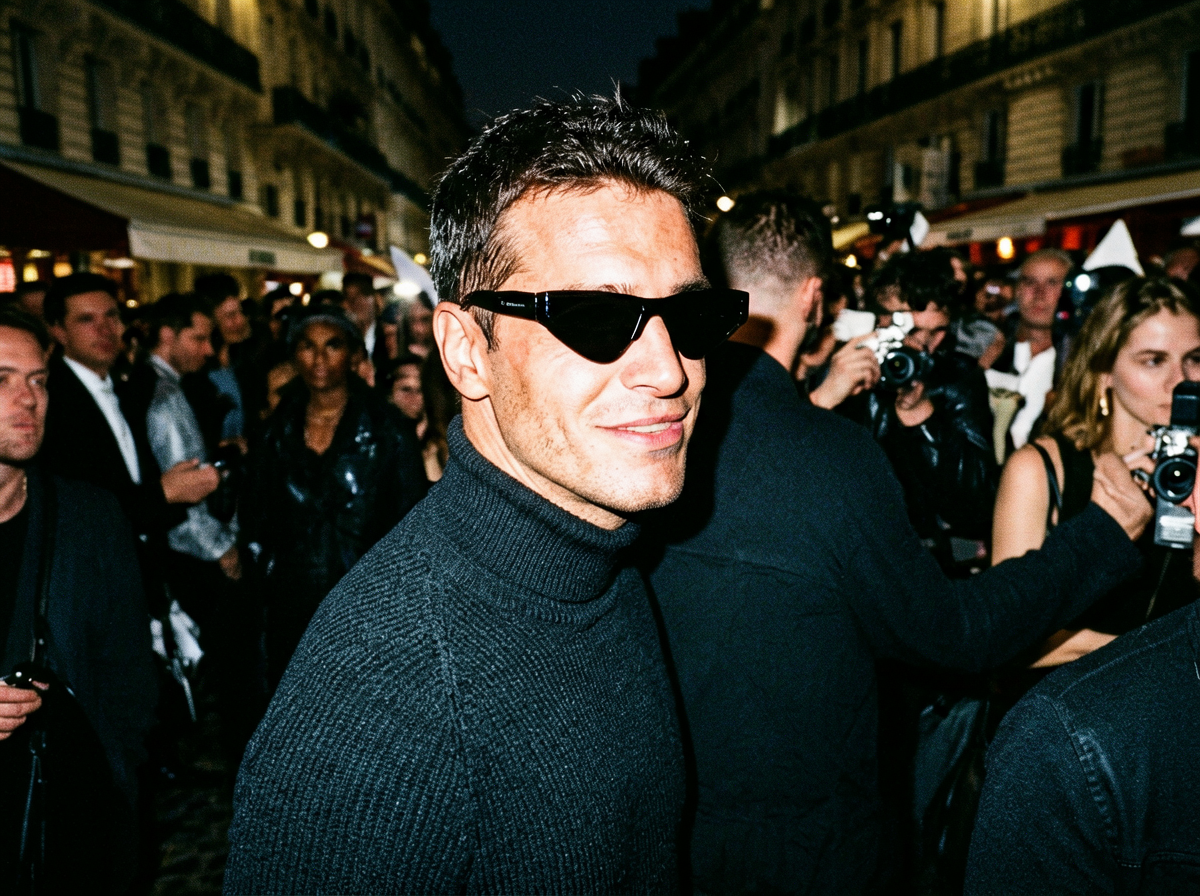
Create a 2:3 editorial portrait of an original adult musician leaving a small corner shop at night. Use a 50mm camera view, direct flash, visible film grain, red window light, cool street shadows, and a candid over-the-shoulder glance. Keep the background softly blurred and preserve natural skin texture. Do not imitate a real person.
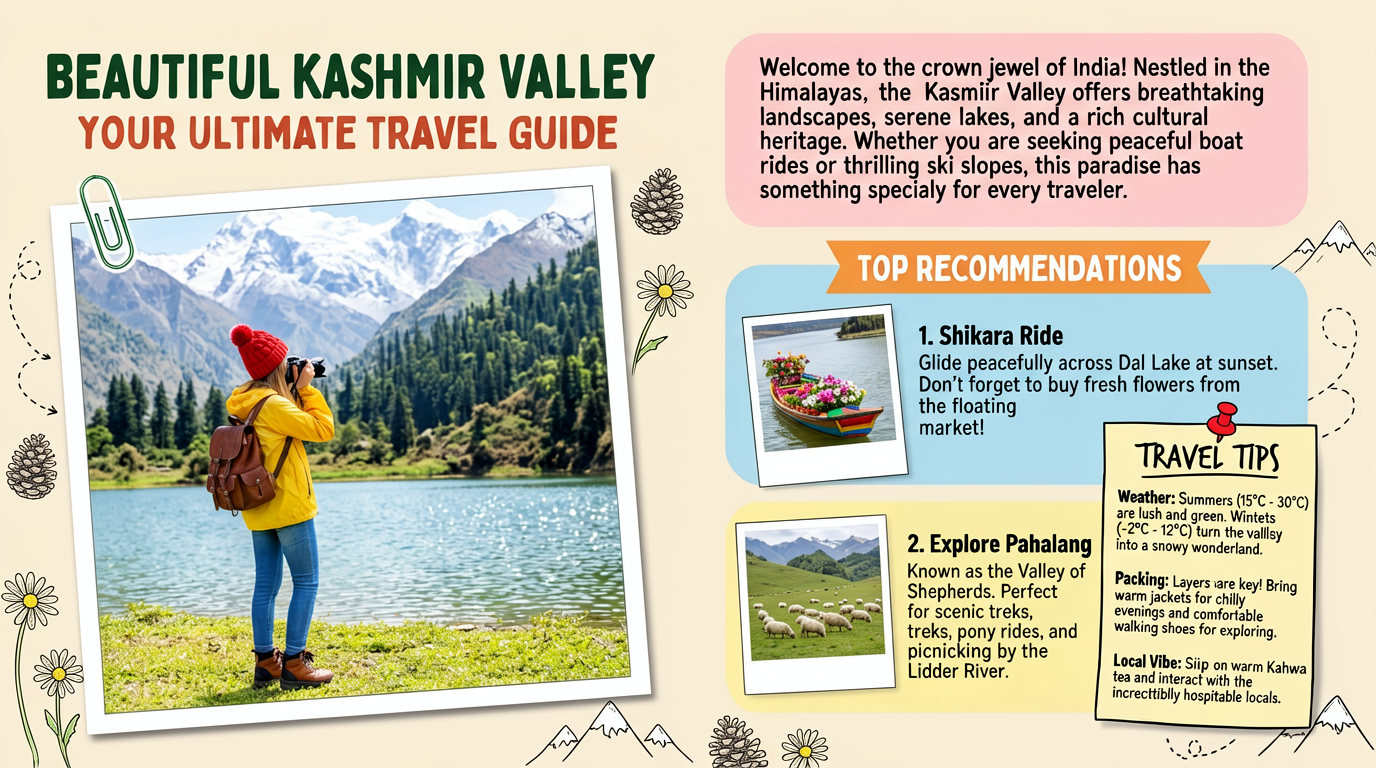
Create a 16:9 information poster for a fictional mountain travel guide. Place one large landscape image on the left and a structured guide panel on the right. Include the exact heading “THREE DAYS IN THE VALLEY,” three short itinerary labels, a packing checklist, and a small route diagram. Use cream, forest green, and charcoal with clear margins and readable text.
Give each of up to 16 uploaded references a role and separate requested changes from preserved details.
References
Image 1: base object. Image 2: lighting. Image 3: composition.
Change
Replace the background and adjust the camera angle.
Preserve
Keep the object shape, material, color, and label position.
Constraints
Do not add extra products, logos, or decorative wording.
Choose the canvas for the intended placement before you finalize subject position and negative space.
Square product images, icons, and compact social layouts
Posters, portraits, product cards, and illustrated explainers
Vertical stories, mobile covers, and tall product scenes
Wide posters, presentation visuals, and interface concepts
Panoramic environments and wide cinematic compositions
Wide product banners and landscape compositions
Tall posters and portrait-led layouts
Extra-wide headers and panoramic scenes
Extra-tall graphics and narrow vertical compositions
Extended mobile visuals and tall story layouts
Find answers about prompt structure, 16-reference editing, Flare and Sunburst selection, five quality tiers, and 4K output.
Include the subject, setting, composition, lighting, color direction, required details, and constraints. Add an aspect ratio that matches the final placement. When the image needs visible wording, place the exact copy in quotation marks and describe where it belongs.
Upload the reference images, identify the role of each one, and separate the instruction into changes and preserved details. For example, use one image for the base object, another for color direction, and a third for composition. State clearly which reference has priority.
The current GPT Image 2.5 workspace accepts up to 16 reference images. Use fewer references when the roles overlap. A short label such as “Image 1: base product” or “Image 2: lighting direction” helps keep the instruction clear.
Put the required wording in quotation marks, identify its position, and describe the hierarchy. Keep the copy short enough for the available space. Review spelling, punctuation, and label placement in the generated preview before downloading the result.
Use Low quality and 1K output for early prompt checks. Move to Medium, High, XHigh, or Max when the subject, layout, and wording need more detail, and choose 2K or 4K when output size matters. The generator shows the credit cost for the selected model, quality, and resolution.
Copy a prompt, choose the model and matching aspect ratio, select quality and resolution, then review the calculated credits before generating.